


INSTALLATION DIAGRAM & INSTRUCTION LINKS:
Fender Trim Installation Diagram
ABS Plastic Trim Installation Diagram
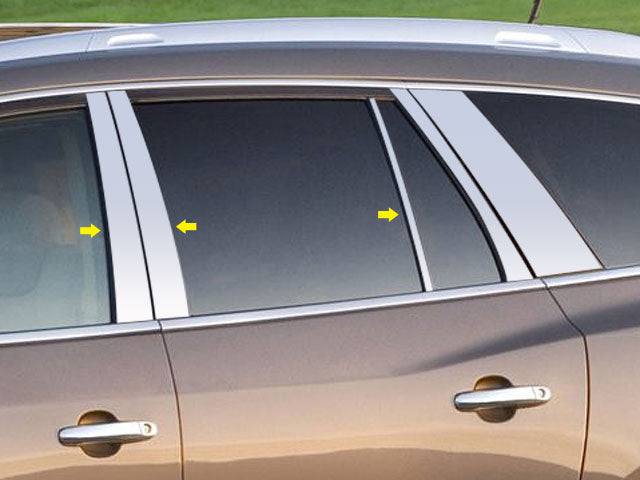
Replacement Mirror Cover Installation Instructions
Emblem & Logo Installation Instructions
Vinyl Decal Installation Instructions
International 4700 & 4900 Series Grille Install Instructions
International 4000 Series Light Bar Install Instructions
NOTE:
- Handle with care!
- Protect your Stainless Steel Trim Pieces from impact and excessive bending which will damage their appearance.
- Items damaged during install void warranty.
What you will need:
- Clean work area, free of airborne dust, and debris
- Vehicle and Stainless Steel Trim Pieces
- Temperatures above 65oF
- 3M Adhesive Cleaner (PN08984) or equivalent
- Soft Clean Cloth
- Utility knife
- Masking tape (optional)
Pre-Installation:
- DO NOT remove the red tape liner or protective film until instructed to do so.
- Test Fit Each Piece: Lay out and test fit the Stainless Steel Trim Pieces before starting. Check that the shape and form of each piece properly. Each piece is designed to fit the contour of the vehicle on every location it is intended to be installed.
- Be comfortable with each piece’s installation location to ensure product installs properly.
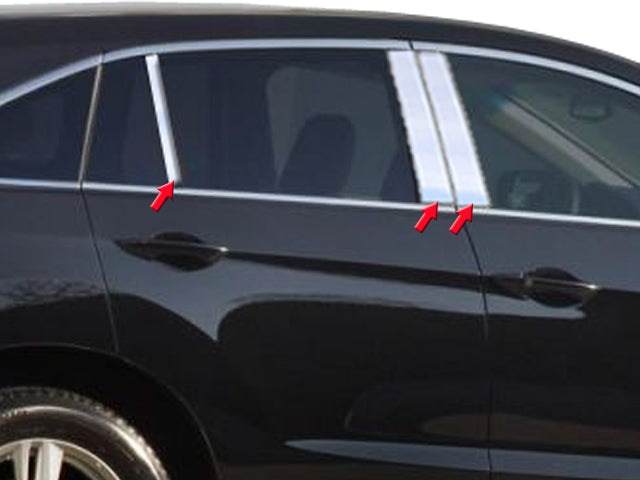
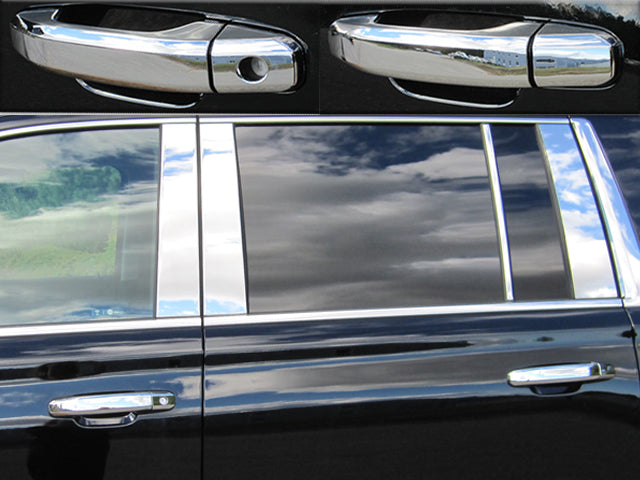
- Note the proper placement and alignment for your kit. **See fig.#2 and alignment tip
- Clean the receiving surface just prior to installation. Use 3M adhesive cleaner, or its equivalent, to clean the area thoroughly.
- The receiving surface must be dry and must be clean; free of dust or any debris!
- Apply 3M adhesive Promoter: If applying on a plastic surface, an adhesive promoter (preferably 3M) should be applied.
|
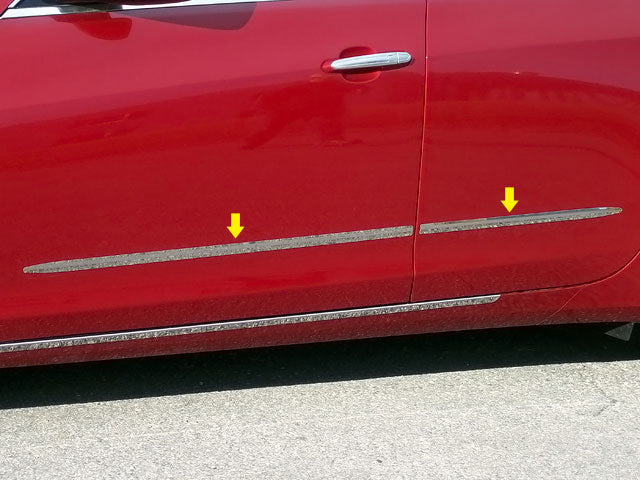
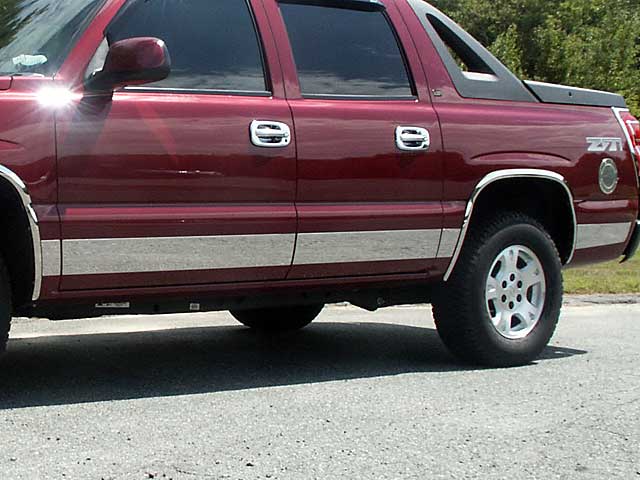
ALIGNMENT TIP: · Lower (L) kits align with the bottom of the door. · Upper (U) trim kits align with the trim crease or body side molding. Striking a line of masking tape along the application surface length can provide a good guide for test fitting and installation. |
Installation:
- FOR LARGER PIECES, peel back the red tape liner about half way from the top just before installing. FOR SMALLER PIECES, remove the entire red liner just before installing. Protect exposed tape from contaminants. FOR BELOW THE DOOR PIECES with a 90o degree top lip, cut through the red backing at the 90o degree corner. Pull a small tab of red backing away from one of the ends of the top lip for peeling later. DO NOT peel the red tape backing from the top lip at this time.
- HOLD THE PIECE AT A 90o DEGREE ANGLE TO THE VEHICLE, and touch the very top edge of the vehicle, observing your placement and alignment guides. If you need to adjust placement, simply raise the piece past 90o degree and lift off. (See fig.#2)
- ONCE YOU GET THE PLACEMENT RIGHT press down across the top of the piece to tack it in place. FOR SMALLER PIECES complete installation by pressing down across the piece, moving top to bottom. FOR LARGER PIECES continue to peel the rest of the liner, pressing down across the piece as you go. Be careful not to pinch liner as you press down. FOR BELOW THE DOOR PIECES with a 90o degree top lip, continue to peel the lower section of the red tape liner by pressing down and across the piece as you go. Now, grab the exposed tab of red backing from the top lip and peel down firmly on the top lip to complete installation.
- APPLY PRESSURE OVER ENTIRE SURFACE INCLUDING EDGES with a soft clean cloth to ensure that the tape completely adheres to the vehicle. Check your edges and re-apply pressure when necessary.
- LASTLEY REMOVE PROTECTIVE COVERING. You may use any non-abrasive stainless steel cleaner to keep your trim shining bright!
- DO NOT wash vehicle for 24 hours after installation.
IMPORTANT!
- Once the tape adheres to the vehicle, the Stainless Steel Trim Pieces cannot be removed without being damaged. The surface of the vehicle, however, will not sustain any damage if the Stainless Steel Trim Pieces are removed in the future.
- For product images and guidance please visit the vehicle collection within this website